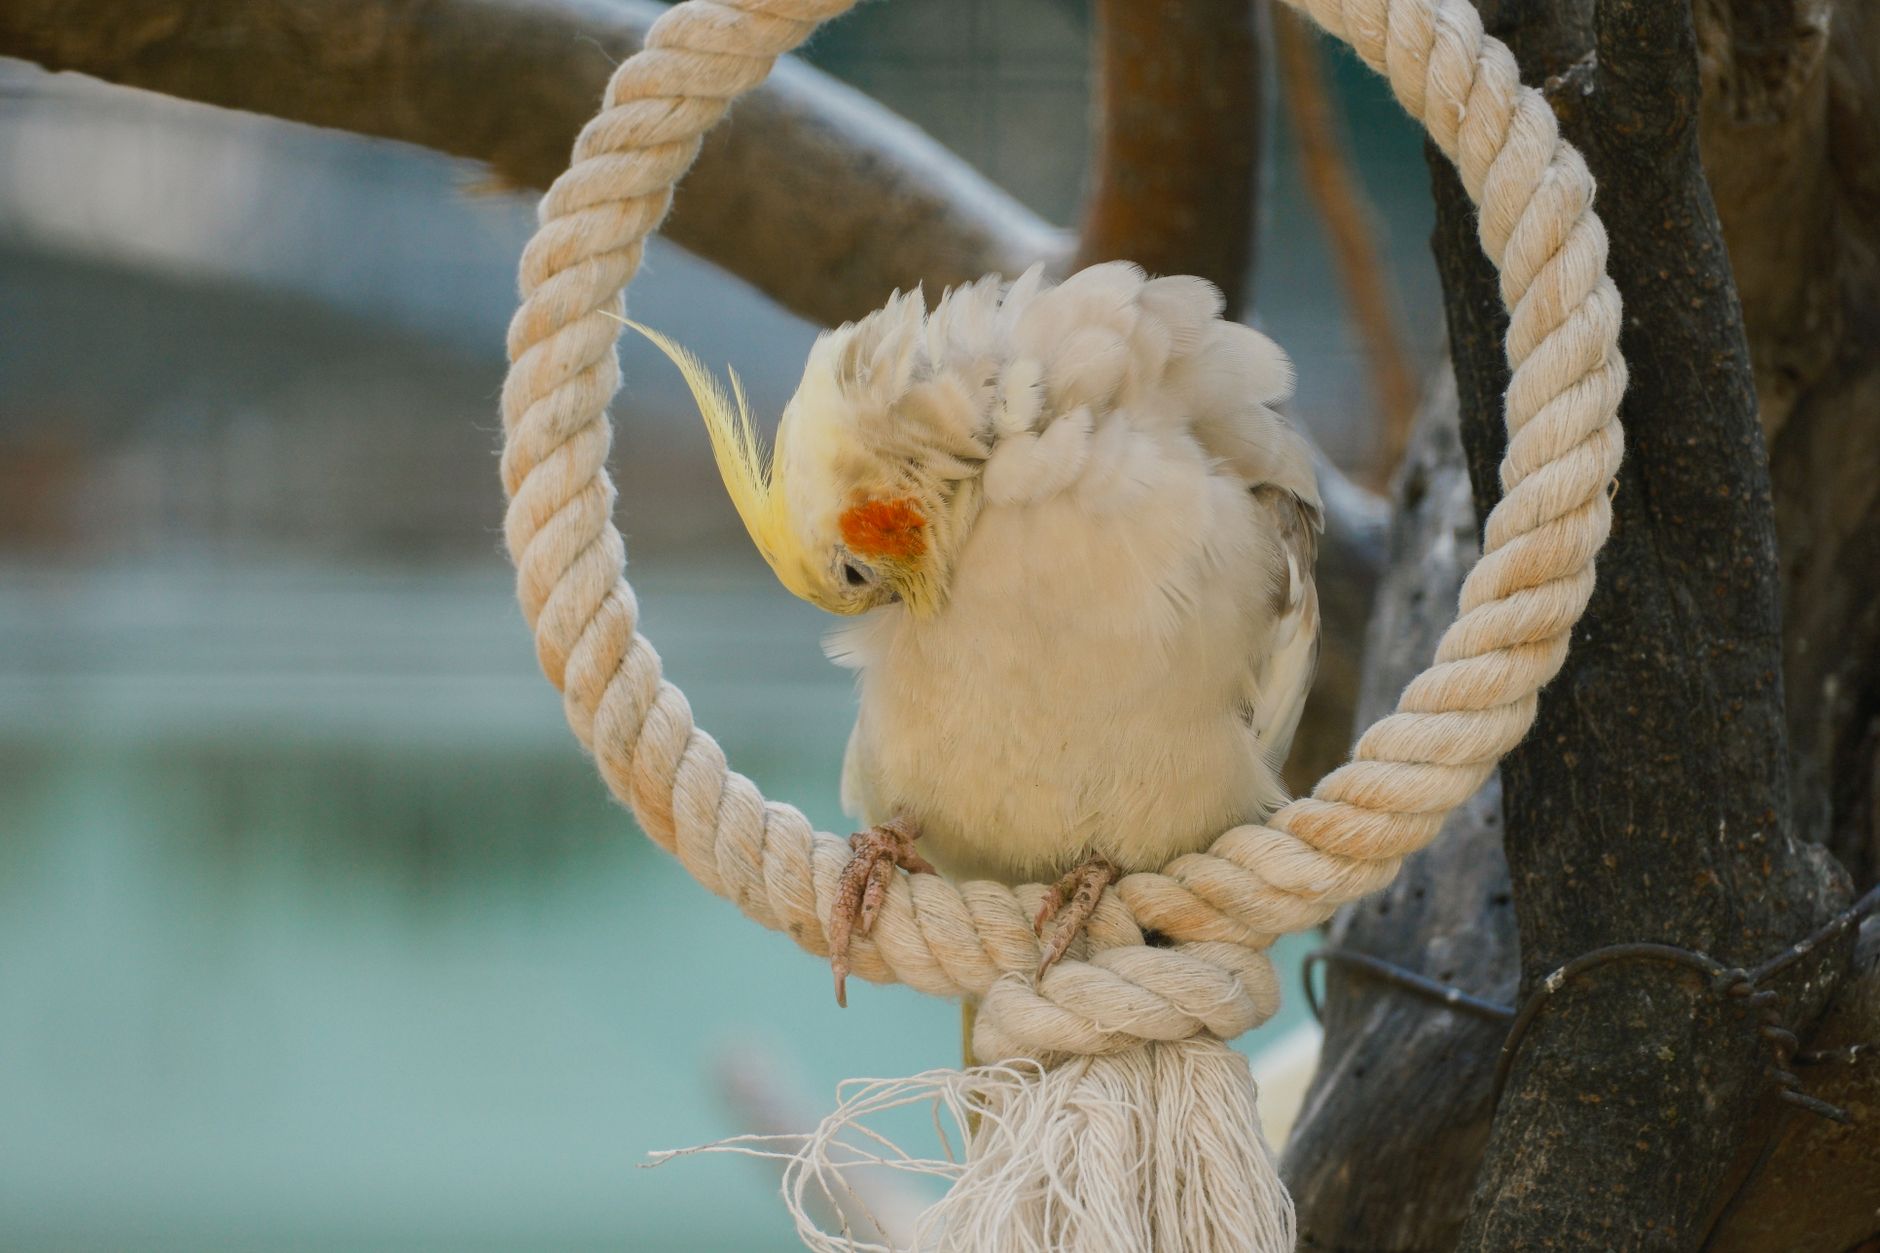
Setting up a bird cage isn’t just about buying the biggest enclosure you can find and tossing in a few toys—it’s about engineering a living environment that mirrors your bird’s natural habitat while meeting its physical and psychological needs in captivity. Whether you’re bringing home your first parakeet or upgrading your African Grey’s quarters, the way you configure that cage will directly impact your bird’s health, lifespan, and behavior for years to come.
Disclosure: This post contains affiliate links. If you click through and make a purchase, we may earn a small commission at no extra cost to you. Thank you for supporting this site!
1. Choosing the Right Cage Size and Shape
Before you assemble anything, you need the right foundation. Cage size is the single most common mistake bird owners make, and it’s usually the result of underestimating how much space a bird actually requires to move, stretch, and exercise.

The Minimum Size Rule
For any bird, the cage must be wide enough for the bird to fully extend its wings without touching the bars in any direction. That’s the absolute bare minimum. For flighted birds, the cage should be long enough to allow short horizontal flights. Tall, narrow cages look nice in a corner but offer very little usable space because birds move horizontally, not vertically.
- Budgies and Cockatiels: Minimum 18″ wide x 18″ deep x 24″ tall. Bigger is always better.
- Conures and Senegals: Minimum 24″ wide x 24″ deep x 30″ tall.
- African Greys and Amazons: Minimum 32″ wide x 23″ deep x 36″ tall.
- Macaws (large): Minimum 36″ wide x 28″ deep x 48″ tall.
A cage that’s too small will lead to feather plucking, aggression, and obesity from lack of movement. If you’re on a budget, prioritize width over height every time.
Bar Spacing Matters
Bar spacing that’s too wide allows birds to escape or get their heads stuck. Spacing that’s too tight can trap toes or break tail feathers.
| Bird Type | Recommended Bar Spacing | Bar Thickness |
|---|---|---|
| Budgies, Parakeets, Lovebirds | 1/2 inch | 2–3 mm |
| Cockatiels, Conures | 5/8 inch | 3–4 mm |
| Amazons, Greys, Pionus | 3/4 inch to 1 inch | 4–5 mm |
| Macaws, Cockatoos | 1 inch to 1.5 inches | 5–6 mm |
product Recommendation: The Prevue Hendryx Wrought Iron Cage (model 441, around $280–$350 depending on size) is a solid mid-range option for cockatiels and conures with 5/8″ bar spacing and a powder-coated finish that’s easy to clean. For large parrots, look at A&E Cage Company (around $600–$900 for a playtop model). You’ll pay more, but you get welded stainless steel that won’t chip or rust.
2. Selecting the Perfect Cage Location
Where you place the cage is almost as important as the cage itself. A bird that’s isolated in a dark corner will become withdrawn and depressed, while a bird placed directly in a drafty window or next to a TV will be stressed and agitated.
The Social Zone
Birds are flock animals. In the wild, they spend nearly all their time within sight and sound of their flock. In your home, you are the flock. Position the cage in a room where the family spends the most time—typically the living room or a home office—but not in the absolute center of the action. Place it against a wall with one side open to the room so the bird can choose how much interaction it wants.
Avoid These Locations
- Kitchen: Non-stick cookware (Teflon) releases fumes that are lethal to birds. Also, hot surfaces and open water pose risks. Never put a bird cage in a kitchen.
- Direct sunlight: A bird can overheat and die in a sun-drenched window with no shade. Indirect natural light is fine, but you need a shade option.
- Drafty areas: Near doors, windows, or air conditioning vents. Birds are sensitive to temperature swings and respiratory infections.
- High-traffic hallways: Constant movement and noise prevent the bird from resting, which is essential for health.
Height Placement
The cage should be positioned so that the bird’s perch is roughly at eye level when you’re standing or sitting nearby. This puts you on equal footing and makes the bird feel secure rather than dominated. For most medium parrots, that means the bottom of the cage sits 28–36 inches off the floor. Use a sturdy cage stand or a low table—never leave the cage directly on the floor where it collects dust and makes the bird feel vulnerable to predators.
3. Essential Perches and Placement
Perches are not just places to stand—they are your bird’s primary tool for foot health, balance, and exercise. A cage with only one type of perch (especially the smooth wooden dowels that come with most cages) will cause pressure sores, arthritis, and bumblefoot over time.

Perch Variety Is Non-Negotiable
You need at least three different perch diameters and textures in the cage at all times. This forces the bird to shift its grip, exercising different muscles in its feet and preventing sores.
| Perch Type | Best For | Diameter Range | Price Range |
|---|---|---|---|
| Natural wood branch (manzanita, grapevine) | Primary perch, foot exercise | 1/2″ – 1.5″ (tapered) | $12–$30 per perch |
| Rope perch (cotton or hemp) | Flexible grip, play area | 1/2″ – 3/4″ | $8–$18 |
| Pumice or concrete perch | Nail and beak trimming | 3/4″ – 1″ | $10–$15 |
| Flat platform perch (wood or acrylic) | Resting feet, comfort | Varies | $12–$20 |
Product Recommendation: Manzanita perches from Bird Tricks (around $18–$25 each) are sandblasted clean and have natural taper, which is ideal for foot health. For rope perches, Super Bird Creations Cre8tivity Rope Perch (around $12) is made from bird-safe cotton with no hidden wire cores.
Placement Rules
- Place perches on opposite sides of the cage so the bird must fly or hop between them. This encourages exercise.
- Never put a perch directly over a food or water bowl—birds will drop feces into what they eat and drink.
- Keep perches away from the cage bars so the bird’s tail feathers don’t rub against the metal.
- The highest perch is the “sleeping perch.” Birds sleep at the highest point for security. Make sure it’s comfortable and stable.
- Concrete perches belong near the food bowl, where the bird will spend more time standing on them naturally. They should not be the only perch or the sleeping perch because they’re rough on feet over long periods.
4. Food and Water Stations: What Works Best
You’d be surprised how many owners place bowls incorrectly and end up with contaminated water, spoiled food, or a bird that refuses to eat. Placement and bowl material matter more than most people realize.
Bowls: Stainless Steel Wins Every Time
Plastic bowls harbor bacteria in microscopic scratches, leach chemicals when exposed to heat, and get chewed up by medium and large parrots. Ceramic bowls can contain lead or cadmium in the glaze and chip easily. Stainless steel is non-porous, dishwasher safe, unchewable, and will last for decades.
Product Recommendation: Lixit Stainless Steel Crock Bowls (around $8–$15 each depending on size) are heavy-walled, tip-resistant, and come in 8-ounce, 16-ounce, and 32-ounce sizes. For small birds, the Prevue Hendryx Stainless Steel Bowls (set of 3 for about $12) are a budget-friendly option.
Placement Strategy
- Separate food and water bowls by at least 8 inches. Birds dip food into water, so placing them close together means changing water multiple times a day.
- Do not place bowls directly under perches (as mentioned above). Move them to a low-traffic area of the cage.
- For smaller birds, mount bowls at mid-height. For larger birds, bowls can be on the cage floor or mounted to the bars, but avoid floor placement if possible because birds will kick bedding into them.
- Use two water bowls if your cage is large enough—one at each end. This guarantees the bird always has access to clean water even if one gets soiled.
The Foraging Station Approach
Rather than dumping all the food into a bowl, reserve about 30–50% of your bird’s daily ration for foraging activities. This mimics the natural behavior of searching for food and prevents boredom. Use a shallow bowl, a foraging wheel, or even a stainless steel skewer with fruits and veggies threaded onto it.
Product Recommendation: Planet Pleasures Foraging Box (around $14) is a simple cardboard box with seed holes that small to medium birds love. For a more durable option, the Super Bird Creations Foraging Wheel (around $20) lets you hide treats under acrylic disks that the bird must slide to access.
5. Toys and Enrichment for a Happy Bird
A cage with no toys is a prison. A cage with too many toys is a cluttered obstacle course. The sweet spot is 4–6 toys rotated weekly, arranged to allow free movement while offering variety in texture, sound, and challenge.
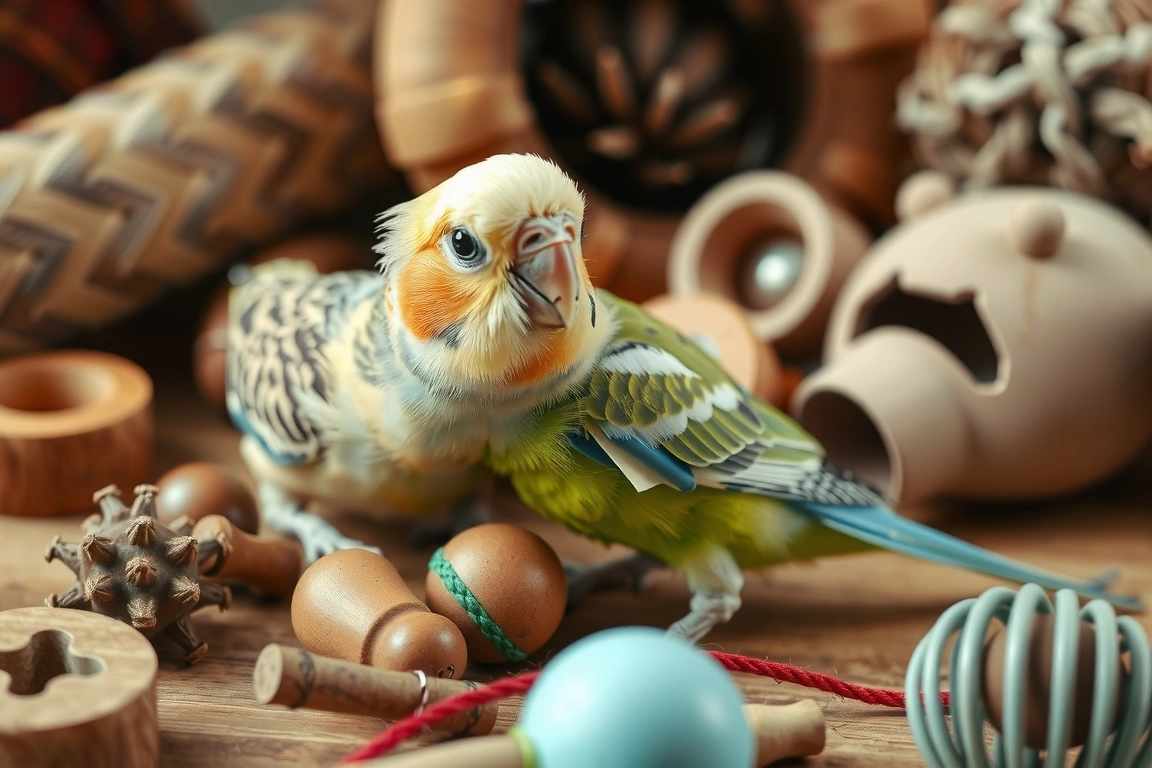
The Toy Types You Need
Every bird needs toys from at least three of these categories at any given time:
- Chewing/destroyable toys: Balsa wood, pine, cardboard, palm leaf. These get destroyed and that’s the point—it’s mentally stimulating. Replace when shredded.
- Foraging toys: Anything that hides food and requires manipulation to retrieve it.
- Shredding toys: Crinkly paper, phone book pages, woven palm strips. Birds love to pull things apart.
- Foot toys: Small objects the bird can hold, toss, and manipulate. Acrylic beads, wooden blocks, and stainless steel jingle bells (with clappers removed for safety).
- Sound toys: Bells, rattles, or chimes that are metal and bird-safe (no zinc or lead).
Arrangement Rules
- Place toys in the play zone—the area where the bird spends active time, usually the lower two-thirds of the cage. Keep the top perch area clear for rest and sleep.
- Rotate 1–2 toys every week. Don’t swap everything at once—keep some familiar items for comfort.
- Never overcrowd the cage. You need to be able to reach in and clean without moving five toys. The bird needs a clear flight path between perches.
- Check all toys for loose parts, frayed ropes, or sharp edges weekly. Remove anything that could trap a toe or beak.
Product Recommendation: Bonka Bird Toys Premium Foraging and Shredder Pack (around $25) gives you a mixed bundle of 5–7 toys made from bird-safe materials like palm, cork, and balsa. For stainless steel foot toys, KaFuccs Stainless Steel Toy Parts (around $10 for a bag of 20 pieces) let you build custom toys or replace worn components.
6. Cage Lining, Substrate, and Hygiene Setup
What you put on the bottom of the cage determines how often you clean and how healthy the air is around your bird. The wrong choice can lead to respiratory issues, fungal growth, or bacterial buildup.
Best and Worst Cage Liners
| Liner Type | Pros | Cons | Best For |
|---|---|---|---|
| Newspaper (plain, black and white) | Inexpensive, easy to change, no dust | Needs daily changing, no odor control | Birds on grate systems |
| Paper cage liners (unglazed) | Absorbent, pre-cut, less ink than newspaper | More expensive than newspaper | Any bird, convenience |
| Corn cob bedding | Good odor control, natural | Can grow mold if wet, dusty | Not recommended—mold risk is high |
| Pine shavings (kiln-dried) | Odor control, natural absorbency | Can be dusty, some birds eat it | Large birds with floor access |
| Walnut shell bedding | Low dust, no mold | Expensive, messy | Allergies, sensitive birds |
Recommendation: For most setups, use a grate (the wire floor that comes with the cage) and line the tray below with plain newspaper or unglazed paper cage liners. This keeps the bird away from waste and makes cleaning a 2-minute daily task. Poop Off Cage Liners (around $12 for a roll of 100) are pre-cut for standard cage trays and are unbleached with soy-based ink.
Cleaning Schedule That Works
- Daily: Change paper liners, wash food and water bowls with hot water and a bird-safe cleaner (vinegar solution
What is the most common mistake people make when choosing a bird cage?
The most common mistake is selecting a cage that is too small, often by underestimating the space a bird needs. The absolute minimum requirement is a cage wide enough for your bird to fully extend its wings without touching the bars. A small cage can lead to serious health and behavioral issues like feather plucking and obesity.
Is a tall, narrow cage or a wide, shorter cage better for a bird?
Always prioritize a wide cage over a tall one. Birds move horizontally, not vertically, so a wide cage allows for crucial flight and exercise. Tall, narrow cages may fit well in a corner but offer very little usable space for your bird to move, stretch, and engage in natural behaviors.
Why is bar spacing on a bird cage so important?
Correct bar spacing is critical for safety. Spacing that is too wide can allow a bird to escape or get its head stuck, while bars that are too close together can trap toes or break tail feathers. The appropriate spacing depends entirely on your specific bird’s size and species.
What is the minimum cage size recommended for a Conure?
For a Conure, the recommended minimum cage size is 24 inches wide, 24 inches deep, and 30 inches tall. This provides the essential space needed for movement and wing stretching. However, opting for a larger enclosure is always encouraged to promote better physical and psychological health for your bird.
🐾 Our Top Pick
Editor’s Pick: spacious bird cage, a premium seed mix, and a detailed bird field guide.
For the Love of Your Pet
Care guides, breed insights, and gentle advice for happier pets.