Disclosure: This post contains affiliate links. If you click through and make a purchase, we may earn a small commission at no extra cost to you. Thank you for supporting this site!
Over 800 bird species roam North America, yet most casual observers can name fewer than a dozen. That gap between what flutters past your window and what you can actually identify is exactly why birdwatching hooks so many people—including bird owners who suddenly realize their pet cockatiel’s wild cousins live right outside the glass. I started birdwatching a decade ago after my African grey parrot, Mango, began mimicking a Northern cardinal he heard through the window. That curiosity turned into a serious hobby that has sharpened my understanding of avian behavior, habitat needs, and even the best cage enrichment for my own birds. If you’re a bird owner who wants to connect the dots between your pet’s instincts and the wild birds in your yard, or just someone who wants to name every bird at the feeder, this guide will cover the essential gear and field techniques that actually work for beginners.
Choosing the Right Binoculars for Birdwatching
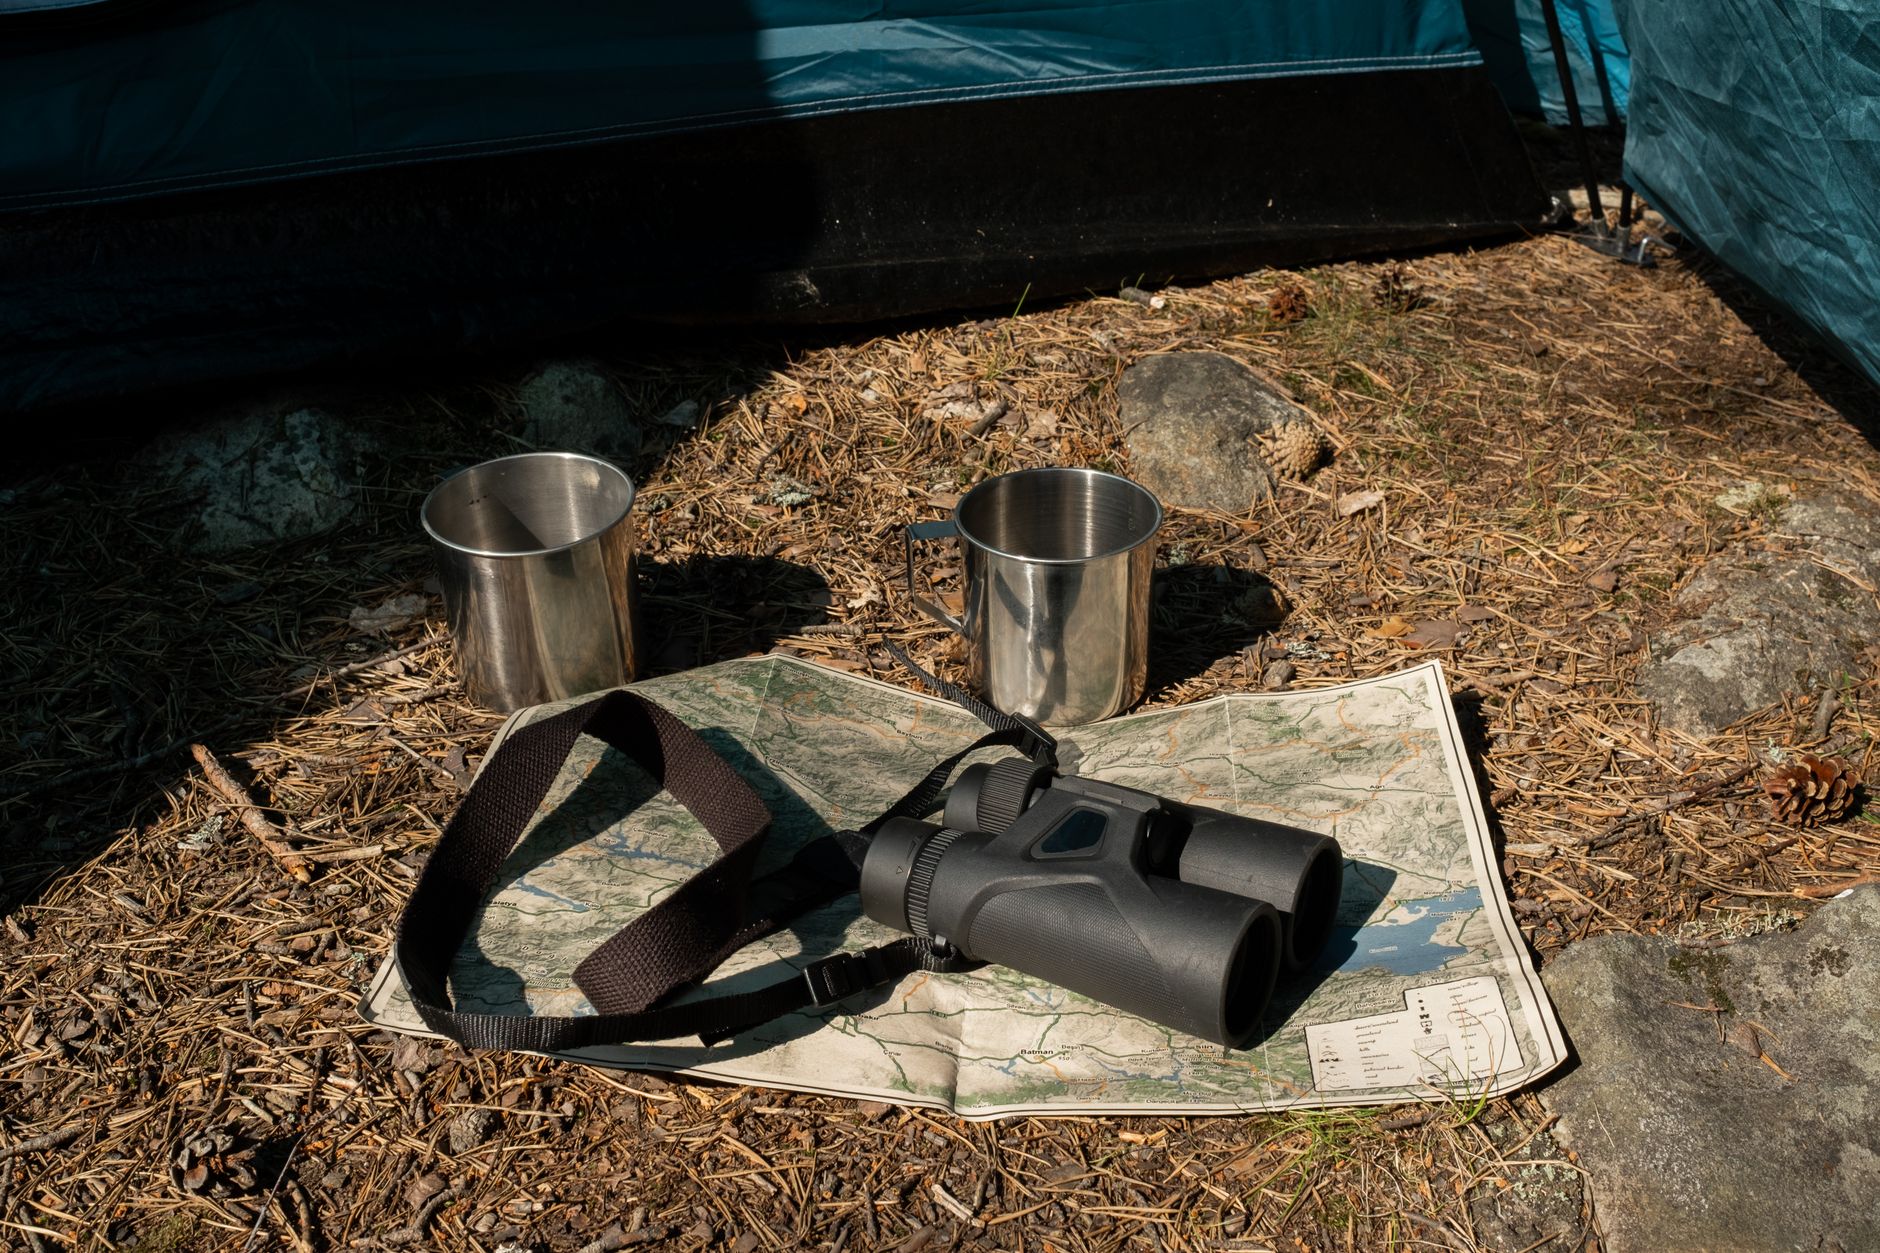
The single most important piece of gear is a good pair of binoculars. Cheap toy binoculars with plastic lenses will frustrate you within minutes—I’ve been there, squinting at a blurry blob that was probably a goldfinch. For birdwatching, the standard recommendation is 8×42: 8x magnification with 42mm objective lenses. This combination gives you a bright, wide field of view that’s stable enough to hold by hand. Reviewers have tested three models that cover the beginner-to-intermediate range, and each has its strengths.
- Nikon Monarch M5 8×42 – $400–$500, weight 21.7 oz, field of view 393 ft at 1000 yds. Excellent low-light performance and a crisp image. The ED (extra-low dispersion) glass reduces color fringing. I’ve used these for three years and they’ve survived light rain and a drop onto grass. Close focus is 6.5 ft, perfect for feeder birds.
- Vortex Diamondback HD 8×42 – $250–$300, weight 18.5 oz, field of view 393 ft at 1000 yds. Unbeatable warranty (VIP lifetime, no questions asked). The image is very good for the price, with decent color accuracy. I recommend these to anyone on a budget who still wants a reliable tool. Close focus is 5.9 ft.
- Celestron Nature DX ED 8×42 – $170–$200, weight 19.4 oz, field of view 388 ft at 1000 yds. The best value under $200. ED glass at this price is rare, and the image quality is surprisingly close to the Nikon. Close focus is 6.5 ft. The rubber armor feels durable, though the focus wheel is slightly stiffer than the Vortex.
When comparing, consider weight if you’ll be hiking. The Vortex is lightest, the Nikon mid-range. For backyard birdwatching from a chair, weight matters less. I always adjust the diopter ring (usually on the right eyepiece) to match my vision—this is a step many beginners skip, leading to blurry images even with expensive binoculars. Also, check the interpupillary distance: fold the binoculars until you see a single circle without any black crescents.
Field Guides: Which One Should You Carry?
A field guide turns a fleeting glimpse into a confirmed ID. With dozens of options, I’ve narrowed it to three that suit different learning styles. The Sibley Guide to Birds, 2nd Edition (approx. $28, 7.5 x 4.6 x 1.2 inches, 600+ species) is the gold standard for serious birders. The illustrations show multiple plumages (breeding, non-breeding, juvenile) and include flight silhouettes. It’s heavy but fits in a large jacket pocket. I use this for detailed study at home and keep it in my car.
The National Geographic Field Guide to the Birds of North America, 7th Edition ($26, 6.2 x 4.3 x 1.2 inches, 990 species) is more portable and includes range maps directly on the same page as the illustrations—a huge time-saver. The photographs are high quality, though some birders prefer paintings for consistency. I take this on hikes because it’s lighter and the species count is higher.
The Peterson Field Guide to Birds of North America ($22, 7.5 x 4.8 x 1.1 inches, 800 species) uses a classic system of arrows pointing to key field marks. It’s excellent for beginners because it trains your eye to notice specific features like wing bars and eye rings. The text is concise, but the illustrations are smaller than Sibley’s. I often recommend this as a first guide because it teaches identification technique rather than just showing pictures.
Digital alternatives have improved dramatically. The free Merlin Bird ID app (by Cornell Lab of Ornithology) can identify birds from a photo or sound recording. It also includes step-by-step ID questions. I use Merlin in the field for quick checks, but I still carry a physical guide for in-depth reading and when my phone battery dies. For bird owners, the app’s sound ID is especially useful—you can record a mystery call at the feeder and get an answer in seconds.
Essential Gear Beyond Binoculars and Guides
Binoculars and a field guide are the core, but a few extras will make your outings more productive and comfortable. A small notebook and pen let you jot down date, location, weather, and behavior notes. Over time, these records become your personal migration calendar. I use a Rite in the Rain notebook ($12, 4.5 x 7 inches) that survives coffee spills and drizzle. A smartphone with eBird installed is invaluable—you can log sightings in real time and contribute to citizen science. eBird also shows you recent sightings near your location, helping you target specific species.
For bird owners who want to watch from home, setting up a feeder is the fastest way to attract birds. I recommend a Droll Yankees 16-inch tube feeder ($35–$45) with metal ports to resist squirrel damage. Fill it with black-oil sunflower seeds, which attract cardinals, chickadees, titmice, and finches. For nyjer seed (thistle), use a mesh feeder like the Brome Squirrel Buster Finch ($40–$50) to avoid waste. Suet feeders (e.g., Woodlink Suet Feeder, $12–$18) draw woodpeckers and nuthatches. Clean your feeders every two weeks with a 10% bleach solution to prevent disease—something I learned the hard way after a House Finch outbreak of conjunctivitis.
Clothing matters more than you’d think. Neutral colors (olive, tan, gray) help you blend in. Avoid white and bright red, which can startle birds. A brimmed hat reduces glare and keeps sun off your face. Comfortable walking shoes are essential if you plan to hike. I also carry a small water bottle and sunscreen. If you wear glasses, make sure your binoculars have twist-up eyecups—I have to adjust mine for a full field of view.
Identification Techniques for New Birders
Identifying a bird isn’t just about matching colors; it’s a systematic process that starts with the bird’s overall impression. The acronym GISS (General Impression, Size, and Shape) is your first filter. Is the bird the size of a sparrow, robin, or crow? Is its body chunky or slender? Does it have a long tail, a short neck, a crest? For example, a Northern Cardinal is robin-sized, crested, and long-tailed, while a Blue Jay is larger, with a crest and a black necklace. Practice judging size by comparing to common species you already know.
Next, focus on key field marks. Look for wing bars (pale stripes on the wing, as in goldfinches), eye stripes (like the white eyebrow of a White-throated Sparrow), tail patterns (white outer tail feathers in Dark-eyed Junco), and bill shape (thin and pointed for insect-eaters, conical for seed-eaters). I often use the Peterson guide’s arrow system to train my eye. Start with one or two features per bird—don’t try to memorize everything at once.
Behavior is equally important. Does the bird hop on the ground (sparrows) or creep up tree trunks (nuthatches)? Does it hover at feeders (hummingbirds) or cling sideways (chickadees)? Does it pump its tail (Eastern Phoebe) or fly in undulating waves (woodpeckers)? I keep a mental checklist: habitat (forest, marsh, backyard), posture, flight pattern, and vocalizations. For sounds, Merlin’s Sound ID is a game-changer—I’ve identified warblers hidden in the canopy just by recording their songs. Practice by listening to common birds in your area on the Cornell Lab’s website before you go out.
- Step 1: Note size and shape compared to a familiar bird (e.g., “sparrow-sized”).
- Step 2: Look for 2–3 distinctive field marks (e.g., white wing bars, yellow breast).
- Step 3: Observe behavior (ground feeder, tree climber, etc.).
- Step 4: Listen for calls and compare with app or memory.
- Step 5: Check your field guide or app to confirm.
Where and When to Birdwatch
Timing and location dramatically affect your success. The best birdwatching happens during migration seasons: spring (March–May) and fall (August–October). During these windows, species you never see otherwise pass through your area. Early morning (dawn to 9 a.m.) is prime because birds are most active after a night of fasting. Late afternoon (4 p.m. to sunset) is also good, especially in winter when birds pack in calories before nightfall. Midday is usually quiet, though you can still find raptors soaring on thermals.
For beginners, your own backyard is the easiest classroom. Set up feeders, a birdbath, and native plants (e.g., sunflowers, coneflowers, oaks) to attract a variety. I’ve logged over 50 species from my suburban yard in Ohio, including Indigo Buntings and Rose-breasted Grosbeaks during migration. Local parks with mixed habitats (woods, fields, water) are next. Use eBird’s “Explore Hotspots” feature to find the most bird-rich spots near you. A Nature Conservancy preserve or Audubon sanctuary often has well-maintained trails and blind structures. When I visited Magee Marsh in Ohio during warbler migration, I saw 30 species in two hours—it’s a mecca for birders.
If you own pet birds, consider how wild birds might influence them. My cockatiel loves watching finches at the feeder, but I keep the window screen closed to prevent any territorial aggression. Some parrots mimic wild bird calls they hear—my African grey learned a Carolina Wren song and now uses it to demand treats. Bird
Related from our network
- Best Paper Types and Notebook Sizes for Beginner Bullet Journalers: A Comparison Guide (bulletjournals)
- Tarot for Beginners: The Complete Guide to Reading Tarot Cards (witchcraftforbeginners)
- Permaculture for Beginners: How to Design Your First Food Forest (permaeasy)
For the Love of Your Pet
Care guides, breed insights, and gentle advice for happier pets.